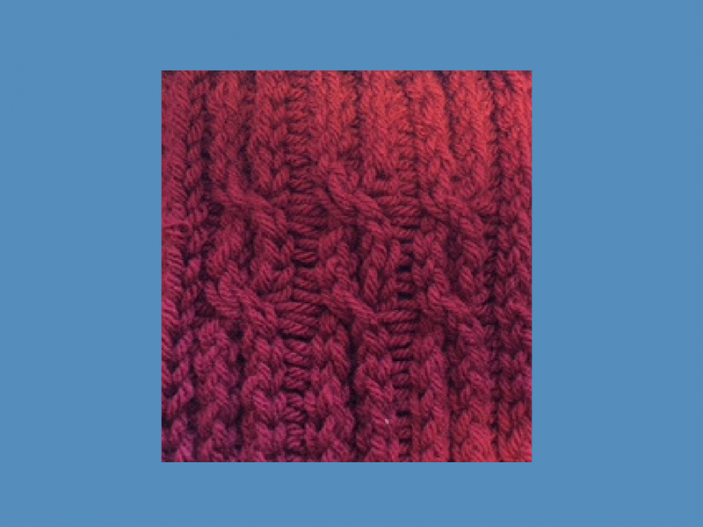
Creating a cable really adds a lovely touch to any knitting project. I love that we can make them small or large, depending on the number of rows, which can create a beautiful, varied design so easily!
Once you have decided (or your pattern has decided for you) where your cable is going to be on your project, be sure to mark the pins you’ll be using ahead of time, to make things easier. (I just mark my knitting board with a pencil so I can easily erase the marks when I move on to the next pattern.)
Here is a how-to video followed by written instructions:
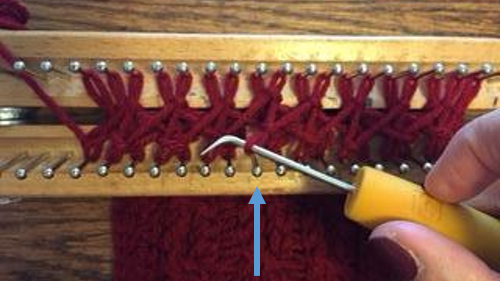
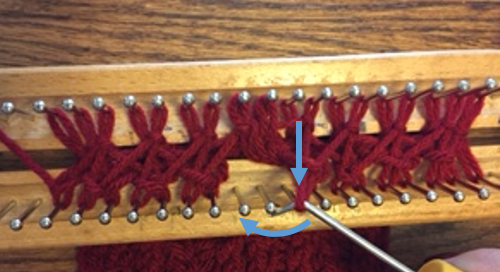
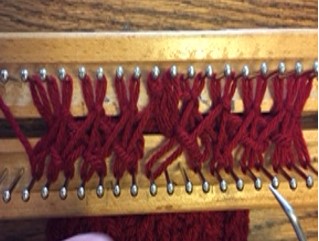
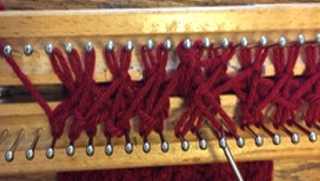
Take the 1st stitch of your cable from the front of the pin and move it directly to the back pin, to get it out of the way. Do the same for the next stitch to the right.
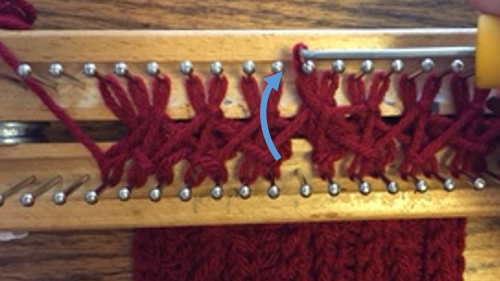
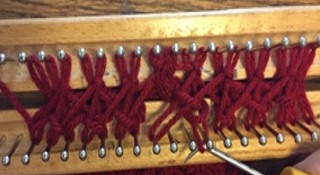
Take the next stitch to the right of the 2nd empty pin and move it to the left to the first empty pin. Do the same for the next pin to the right.
 \
\
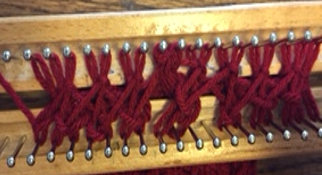
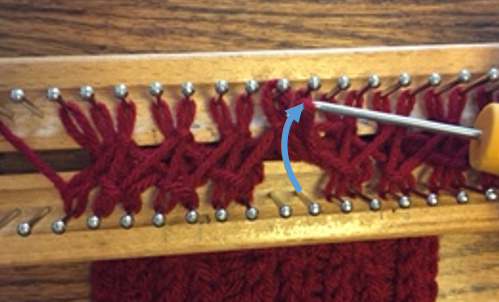
Now, take the stitches that have been placed on the back pins to keep them out of the way and place them on the new, empty pins:

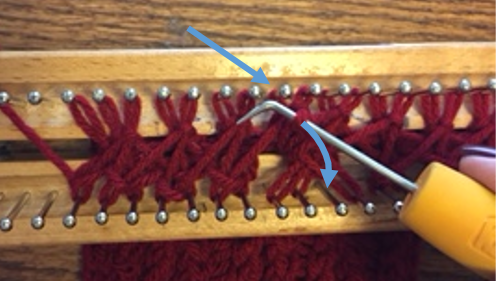
There! You’ve created a left-twist cable. Now, wrap your loom as you would normally (in this example, it is the rib stitch), hook over and you have completed your first cable row.
What do you think? Is this a helpful tutorial? Any suggestions? We’d love to hear from you in the comments below!


Comments