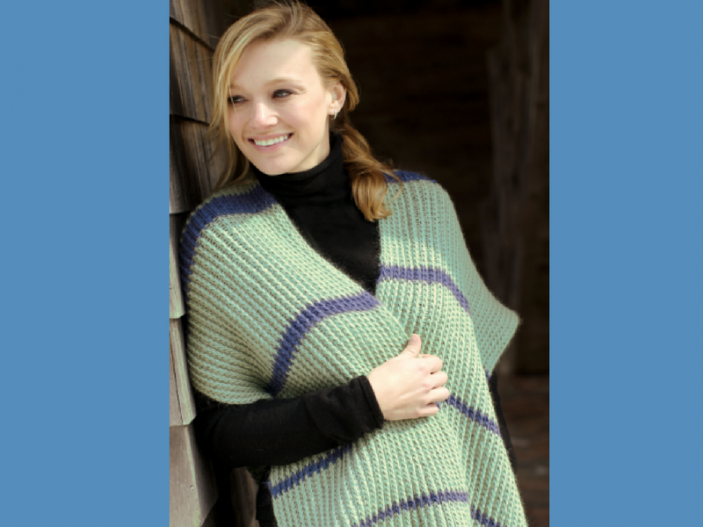
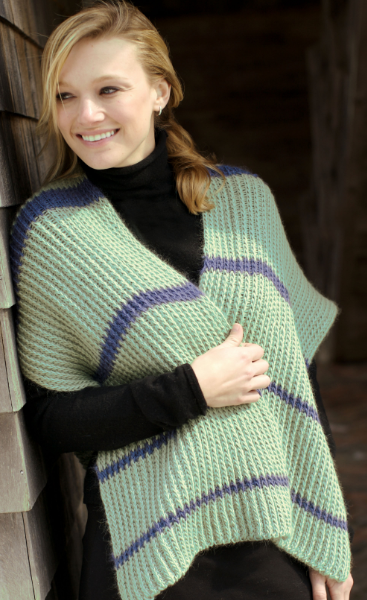
Bring a little bit of the Emerald Isle to rest around your shoulders with this lovely shawl. Easy to loom knit in the Open Braid Stitch with soft stripes. Knit in three pieces with one size fitting most.
Level: Easy
Knitting Loom: 28″ Knitting Board
Yarn: Worsted weight roving yarn, 260 yards per skein, green = 5 skeins, blue = 1 skein
Notions: Knit Hook, crochet hook, darning needle
Size: One size fits most; 48″ from back tip to front edges.
Instructions
Sides of this shawl are rectangular. The center back is knit in a square shape that joins the front with shoulder seams, and falls to point in back.
Open Braid Stitch:
Weave yarn around needle #1 on top board, down to needle #4 on bottom board. (closest to knitter). Weave every other needle to end. End stitches will be consecutive. Return to cover all needles skipped. Hook over all.
Long Front Sides: (knit 2)
Cast On (56) stitches with Green yarn. Lay anchor yarn. You will be knitting n the Open Braid Stitch.
With each color change, we will cut yarn and knot after tying on the next color
Knit (12) rows in Green.
Tie in Blue yarn. Cut Green and knot.
Knit (2) rows in Blue.
Tie in Green yarn.
Knit (18) rows.
Tie on Blue yarn.
Knit (4) rows.
Tie on Green yarn.
Knit (20) rows.
Tie on Blue yarn.
Knit (6) rows.
Tie on Green yarn.
Knit(10) rows.
Bind Off board.
Bind Off at anchor yarn.
Knit the 2nd piece of Long Front Side
Square Back Piece:
Cast On (64) Stitches in Green.
Lay anchor yarn.
Knit (8) rows in Green.
Tie in Blue.
Knit (4) rows.
Tie in Green yarn.
Knit (18) rows.
Tie in Blue yarn.
Knit (3) rows.
Tie in Green yarn.
Knit (18) rows.
Tie in Blue yarn.
Knit (3) rows.
Tie in Green yarn.
Decrease (1) stitch at beginning of each row for (8) rows.
After first decrease, start row on needles #2 and #5. Use this row start on every other row. In other words, for these (8) decrease rows, start row 1,3,5,7 on needles #2 and #5. The other rows, start on the usual #1 and #4. This adjustment will keep the Open Braid in correct sequence.
Bind Off of board and remove anchor yarn.
Finishing:
Sew one short end of Front piece to Back matching to decrease edge.
Sew 2nd side of Front to Back matching the other side of decrease edge.
The decrease corner of back is at the back of neck.
Optional: You may choose to add fringe to the front bottom edges. You may also want to add a hidden snap at front neckline to secure the shawl. The shape of the shawl stays put on your shoulders and our sample does not have a fastener.
Pattern courtesy of Knittingboard Blog.


Comments